Unleash your creativity! This beginner-friendly guide walks you through setting up a stunning WordPress website, no coding required.
A Beginner’s Guide to Setting Up Your WordPress Website
So, you’ve got a fantastic idea for a website – a blog to share your passions, a portfolio to showcase your skills, or maybe even an online store. But where do you begin? The world of website building can seem daunting, especially for beginners. Fear not! This comprehensive guide will equip you with all the knowledge you need to set up a beautiful and functional WordPress website, even if you have zero coding experience.
Why WordPress?
WordPress reigns supreme in the Content Management System (CMS) world for a reason. It’s user-friendly, incredibly versatile, and boasts a massive community and support network. With WordPress, you can create any website imaginable, from simple blogs to complex e-commerce platforms, all without writing a single line of code.
Step 1: Choosing Your Domain Name and Web Hosting
Think of your domain name as your website’s address on the internet. It should be catchy, memorable, and reflect your website’s purpose. Here are some tips for choosing a great domain name:
- Keep it short, sweet, and easy to spell.
- Use relevant keywords to make it easier for people to find your site.
- Make it brandable – something that reflects your unique identity.
Web hosting is like the foundation of your website – it’s where your website’s files and data reside. Popular web hosting providers offer various plans with features tailored to different needs. Here’s what to consider when choosing a web hosting service:
- Reliability: Opt for a provider with a strong reputation for uptime and security.
- Storage and Bandwidth: Ensure the plan offers enough storage and bandwidth to accommodate your website’s traffic.
- Ease of Use: Look for a provider with a user-friendly interface and helpful customer support.
- WordPress Compatibility: Many web hosting providers offer one-click WordPress installations, making things incredibly easy.
Step 2: Installing WordPress
The installation process can vary slightly depending on your web hosting provider. Still, most offer user-friendly tools or even automatic WordPress installations. Here’s a general overview:
- Access your web hosting provider’s control panel (cPanel).
- Locate the “Website” or “Software” section and look for the WordPress installer.
- Follow the on-screen instructions, providing your desired website title, username, and password.
- Congratulations! WordPress is now installed on your website.
Step 3: Exploring the WordPress Dashboard
The WordPress dashboard is your mission control center, where you’ll manage all aspects of your website. Let’s explore some key sections:
- Posts: This is where you’ll create blog posts, articles, or any other content that appears chronologically on your website.
- Pages: Unlike posts, pages are static content like your “About Us” or “Contact” page.
- Comments: Here you can moderate comments left by visitors on your posts and pages.
- Appearance: This section lets you customize the look and feel of your website with themes and personalize it further.
- Plugins: Plugins are like mini-applications that extend the functionality of your website. We’ll discuss these in more detail later.
- Settings: Here you can configure various settings related to your website, including general settings, writing options, and reading settings.
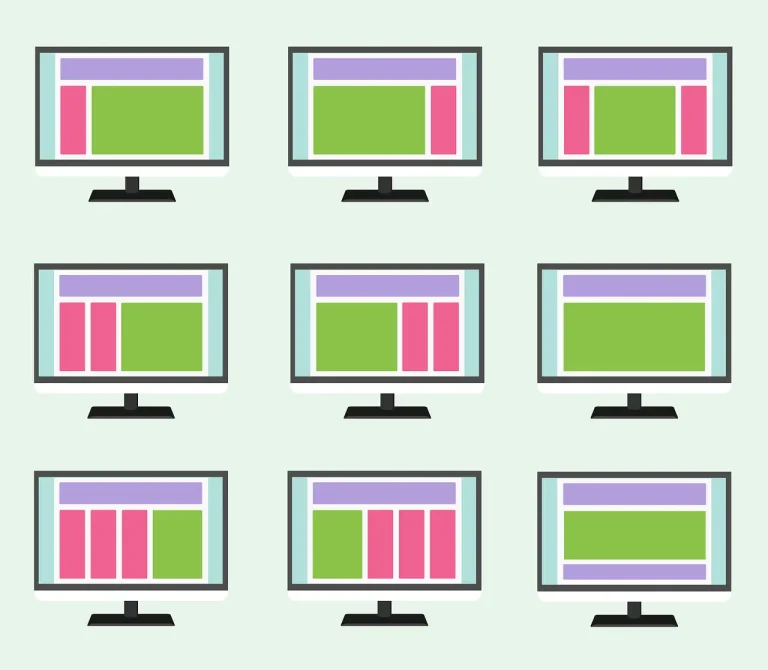
Step 4: Selecting a Captivating Theme
Your website’s theme determines its visual style and layout. WordPress offers a vast collection of free and premium themes catering to various purposes. Here are some factors to consider when choosing a theme:
- Responsiveness: Ensure the theme is mobile-friendly to provide a seamless experience across all devices.
- Customization Options: Look for a theme with the flexibility to personalize fonts, colors, and layouts to match your brand identity.
- Support: Choose a theme with good support options in case you encounter any issues.
Step 5: Adding Content – Unleash Your Inner Storyteller!
Now comes the exciting part – creating the content that will populate your website! Whether it’s captivating blog posts, informative articles, or compelling product descriptions, high-quality content is what keeps your visitors engaged. Here are some tips for crafting stellar website content:
- Know Your Audience: Tailor your content to the interests and needs of your target audience.
- Focus on Value: Provide content that educates, entertains, or inspires your visitors.
- Optimize for Search Engines: Use relevant keywords throughout your content to improve your website’s search ranking.
- Break Up Text with Visuals: Images, infographics, and videos can enhance readability and user engagement.
- Maintain Consistency: Regularly update your website with fresh content to keep visitors coming back for more.
Step 6: Enhancing Functionality with Plugins
Plugins are powerful tools that add functionalities beyond WordPress’s core features. There are plugins for almost everything imaginable, from contact forms and SEO optimization to social media integration and e-commerce functionality. Here are some essential plugin categories to consider:
- Security: Protect your website from malware and hacking attempts with a reputable security plugin.
- SEO: Improve your website’s search engine ranking with an SEO plugin that helps you optimize your content and meta descriptions.
- Performance: Enhance your website’s loading speed and overall user experience with a performance optimization plugin.
- Contact Forms: Allow visitors to easily contact you through a user-friendly contact form plugin.
- Backup and Restore: Regularly back up your website’s data to ensure you can restore it in case of any issues.
Step 7: Customizing Menus and Navigation
An intuitive navigation menu is crucial for helping visitors find the information they need on your website. Here’s how to create a user-friendly menu structure:
- Go to Appearance > Menus in the WordPress dashboard.
- Create a new menu and give it a descriptive name.
- Add the pages you want to include in your menu by selecting them from the available pages list.
- Drag and drop the menu items to arrange them in the desired order.
- Choose the menu location where you want it to appear on your website (e.g., header, footer).
- Save your menu and watch it magically appear on your website!
Step 8: Essential Pages for Every Website
Some key pages are fundamental for every website, regardless of its purpose. Here are a few must-haves:
- Homepage: This is your website’s first impression, so make it count! Clearly communicate your website’s purpose and value proposition.
- About Us: Tell your story, introduce your team, and build trust with your visitors.
- Contact: Provide various ways for visitors to reach you, including a contact form, email address, and social media links.
- Blog (Optional): A blog is a fantastic way to share valuable content, establish yourself as an authority in your field, and drive traffic to your website.
Step 9: Optimizing for Mobile Devices
In today’s mobile-first world, ensuring your website looks and functions flawlessly on all devices is crucial. Luckily, most WordPress themes are responsive by default, meaning they automatically adjust their layout to fit different screen sizes. Here are some additional tips for mobile optimization:
- Test on Different Devices: Use developer tools in your browser or mobile testing services to ensure your website displays correctly on various devices.
- Keep it Simple: Avoid complex layouts and excessive use of images that can slow down loading times on mobile devices.
- Use Large, Tappable Buttons: Make sure buttons and other interactive elements are easy to click on touchscreens.
Step 10: Launching Your Website and Beyond!
Once you’re happy with the design, content, and functionality of your website, it’s time to take it live! Most web hosting providers offer simple tools to launch your website. Here are some additional steps to consider after launch:
- Promote Your Website: Utilize social media, email marketing, and search engine optimization (SEO) strategies to drive traffic to your website.
- Monitor and Analyze: Track your website’s performance using analytics tools to understand your audience and identify areas for improvement.
- Keep Your Website Updated: Regularly update your website with fresh content, plugins, and themes to maintain security and provide the best possible user experience.
Congratulations! You’ve successfully launched your WordPress website. Remember, building a website is an ongoing process. Keep learning, experimenting, and adding value to your website to engage your audience and achieve your online goals.